WEDDING PHOTOGRAPHY LIGHTING GUIDE
How to achieve the best outcome for your wedding photos
So its the lead up to your wedding, you’ve made a booking, paid your deposit….what next? As a wedding photographer, I don't want to completely dictate the timeline of your wedding day, but I’d love to share some tips to help you plan and get the best out of your day.
Educating my clients on best practices for light, setting and timing is crucial in order for me to achieve great images. After all, you have hired me for my specific style and vision, if I don’t communicate what I need in order to achieve these, my job is made much harder on the day. Since you are trusting me to create the best images, its my job to help you create the setting for this to happen :) All images you see here on my website and my social media were created in good light.
Lighting is key in photography, it is too often overlooked and it's importance very much underestimated. So this guide is actually mainly a guide on lighting! I’m a natural light photographer and I live for gorgeous natural light, incorporating flash only during the reception (dance floor photos), after the sun’s gone down. I don’t want to recreate the lighting on your wedding day by using flash; the goal is to capture a wedding’s warmth and document your day in the most authentic way possible. There are times where a little preparation can make a huge difference in the outcome of your photos.
Note: Weddings are about love, family, friends, and emotion. As a documentary wedding photographer I want to capture moments and encapsulate the mood of the day and there are way too many variables for this to be the ultimate guide in lighting, however, any consideration for lighting will usually be more beneficial than not and it’s a good place to start.
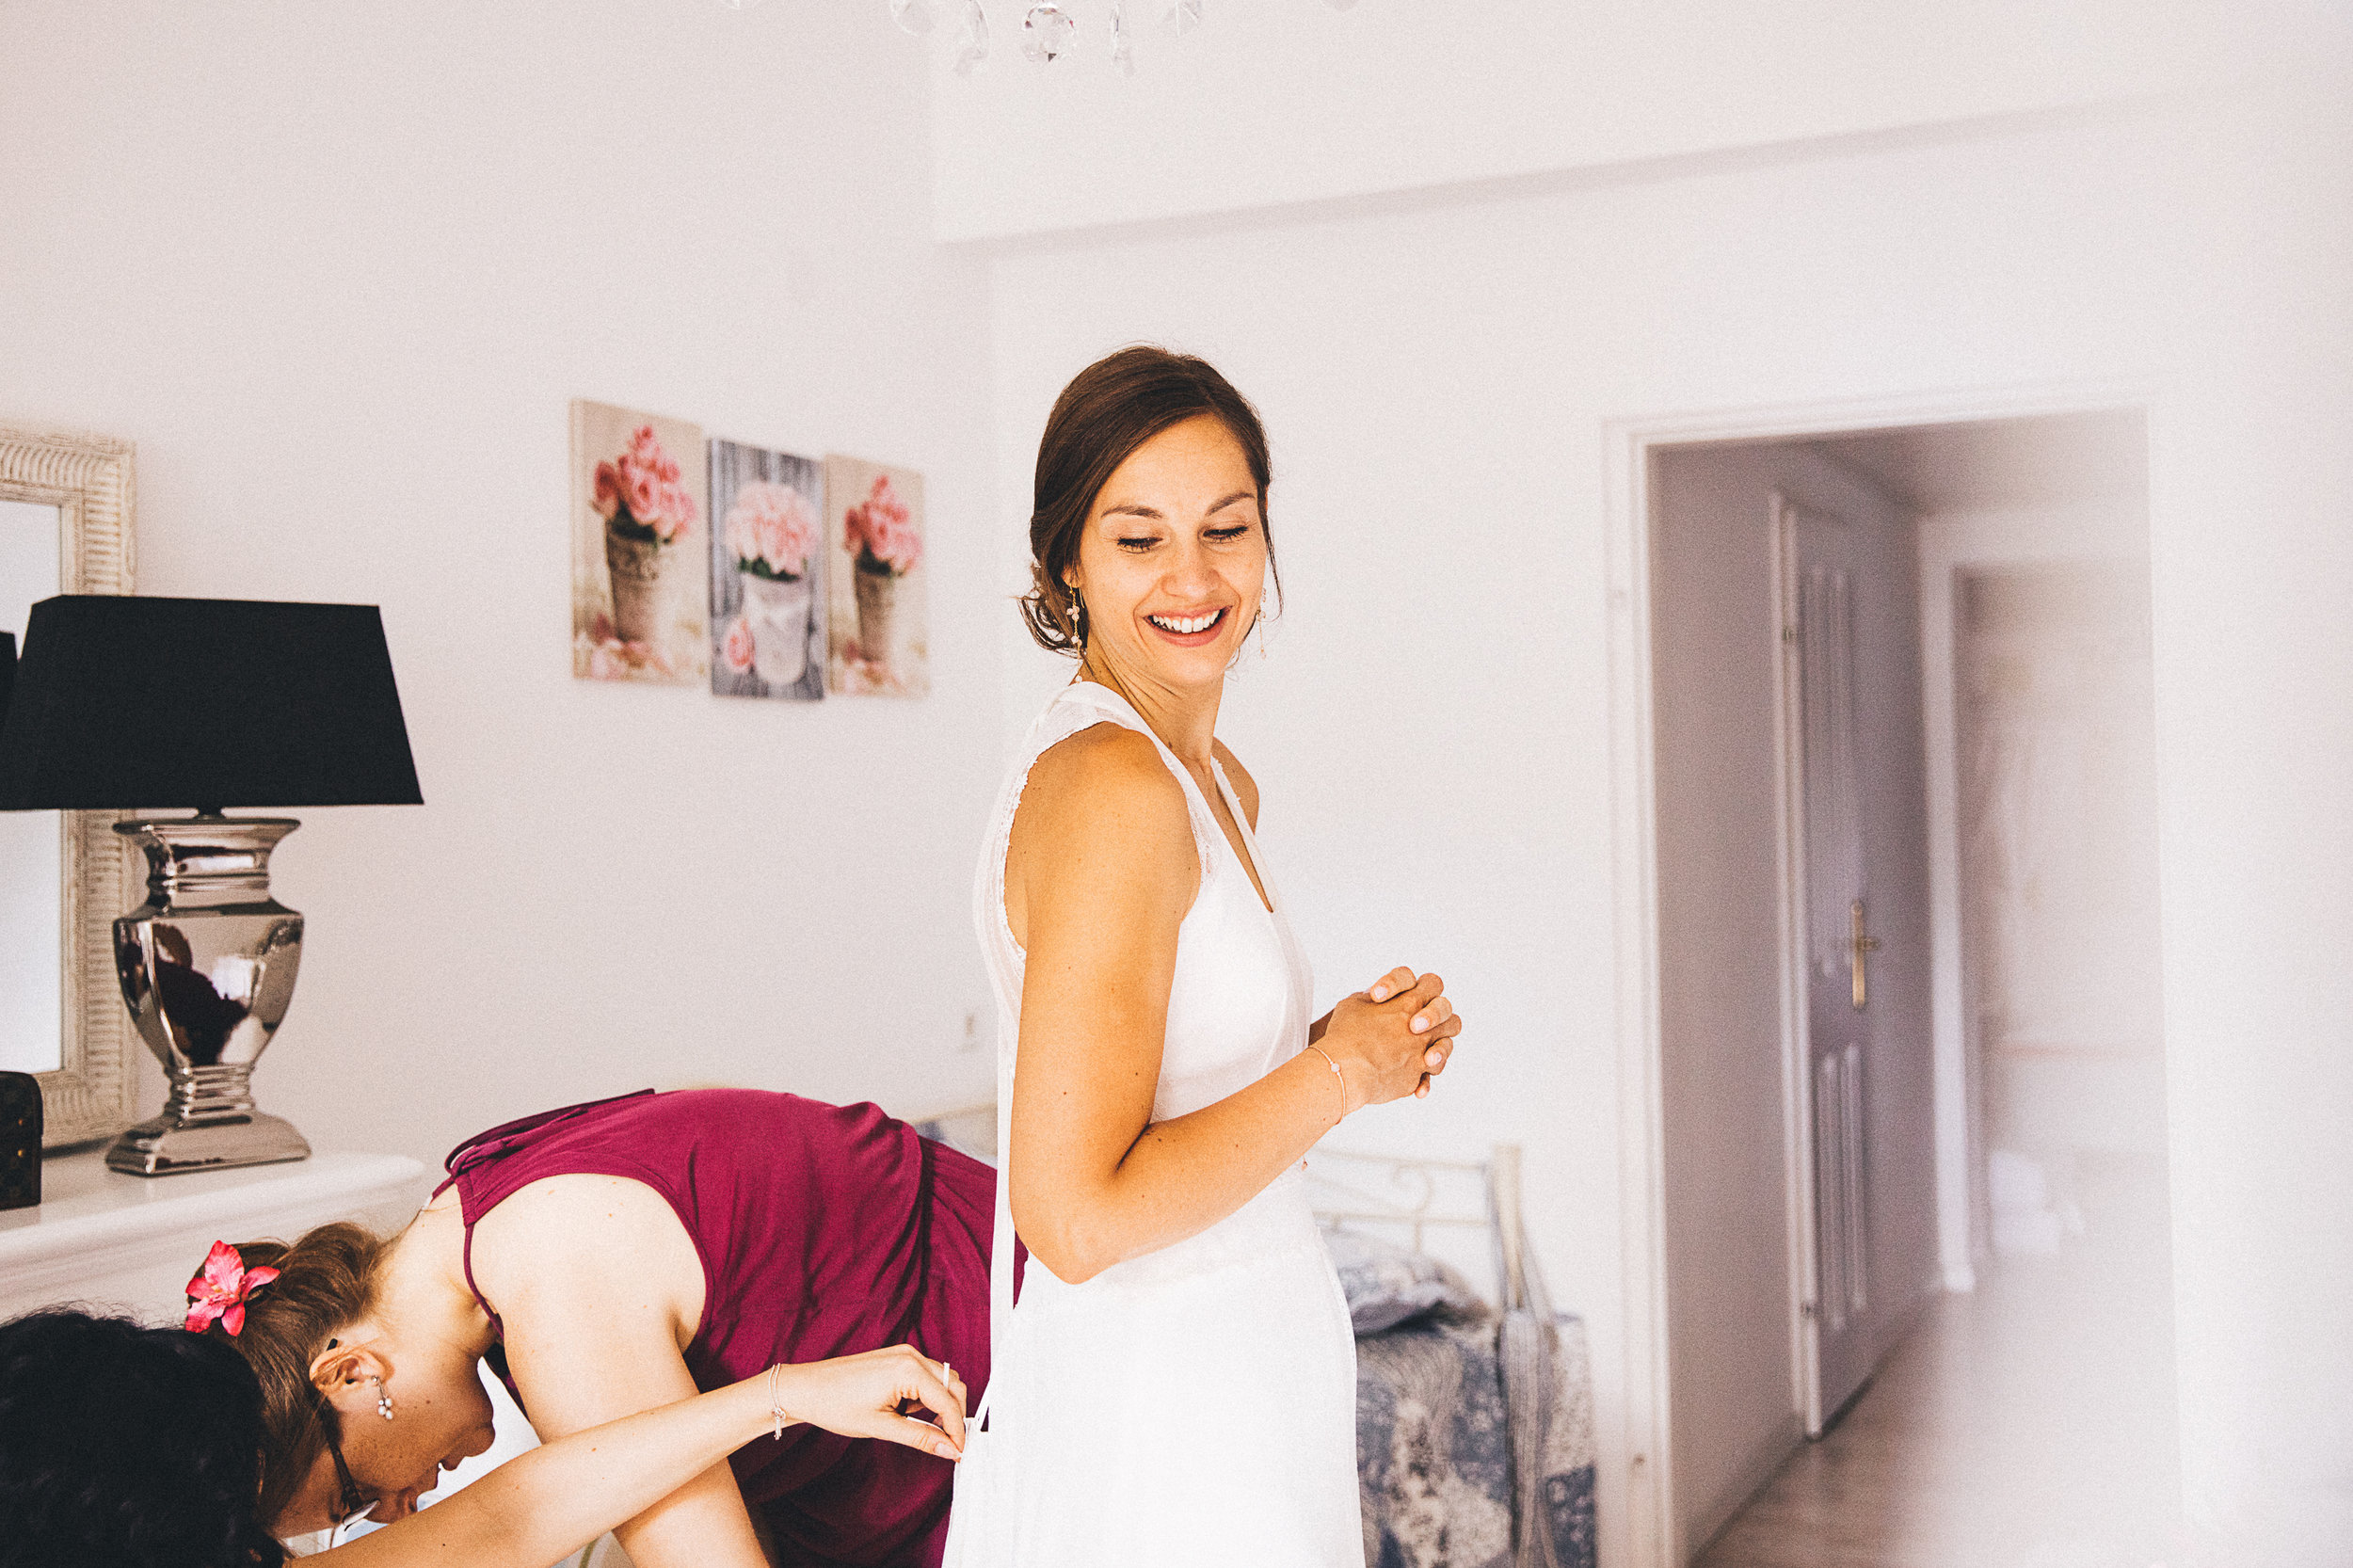
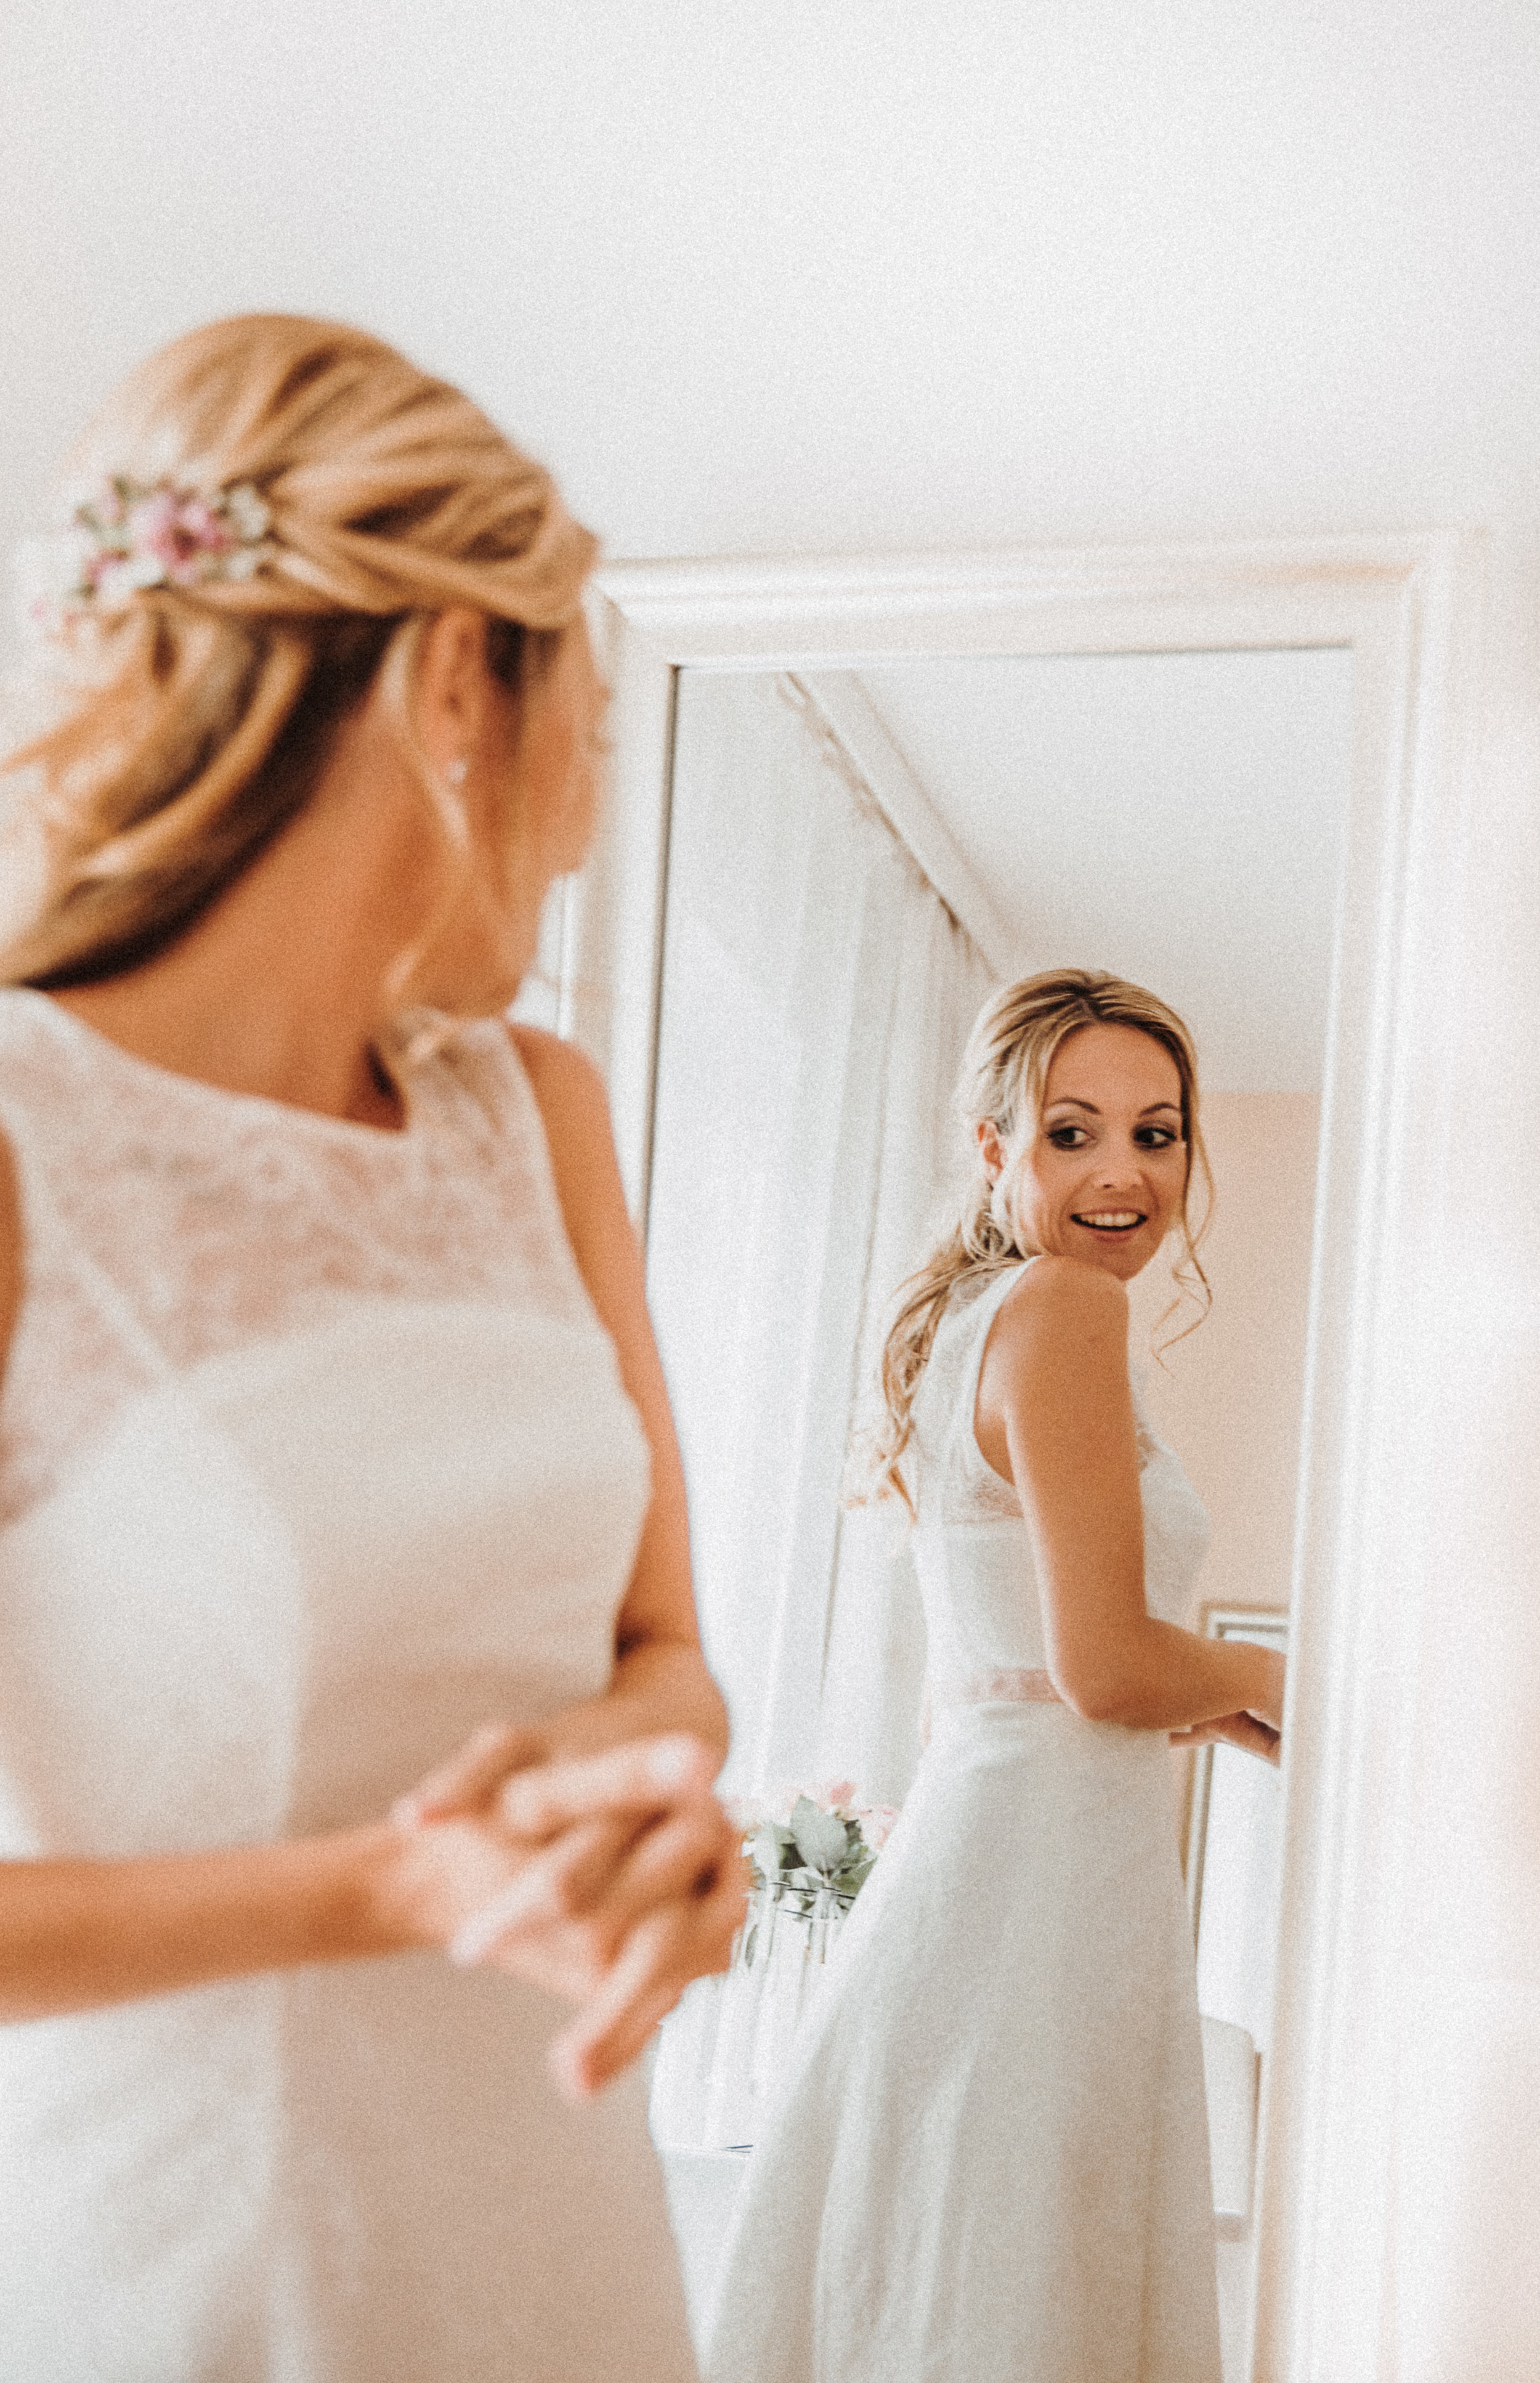
GETTING READY:
Getting ready images are a perfect way to start the narrative of your wedding day. So many really great moments are happening and good lighting can help capture them in a more elegant way. Daylight from windows is the most beautiful and flattering light for this, choosing a room whether it’s in your home or at a hotel with plenty of space and natural light will make for the best getting ready photos. If you don't have this option at home, I often recommend looking at renting out homes on AirBNB or getting ready in a spacious, light hotel room.
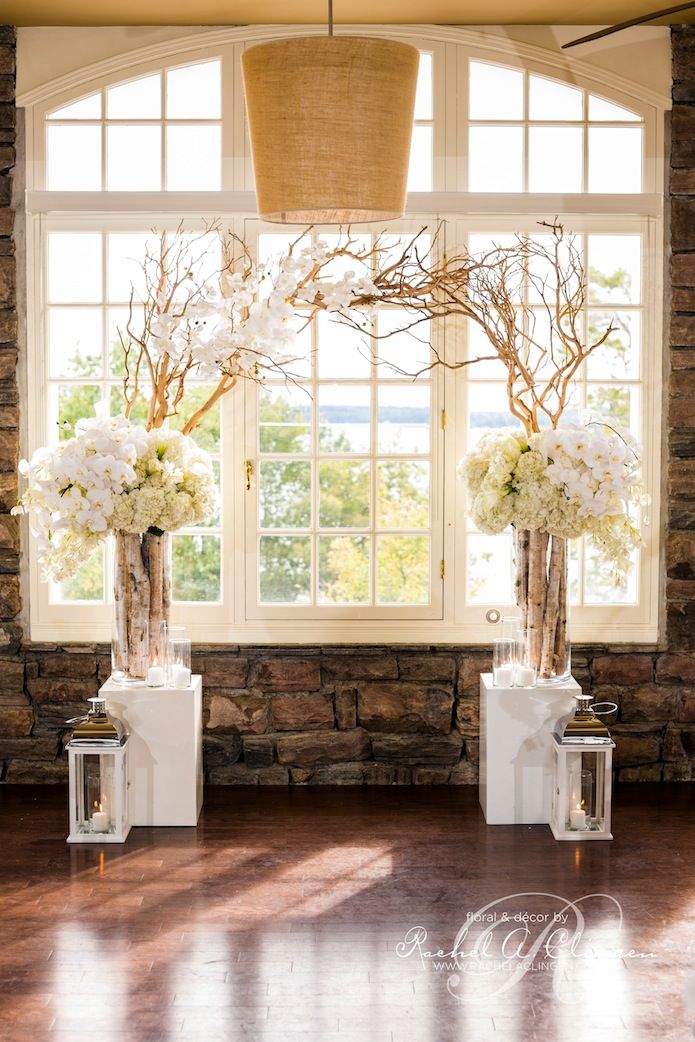
Ideal conditions: best conditions for lighting would be a room with large windows and enough light coming in through the windows to light the room evenly with the lights off. An ideal getting ready area would be an interestingly decorated space with windows and light walls (Ideally white) for lots of reflective light.


Conditions to avoid: Small dark rooms with lots of clutter, rooms with no windows are a real nightmare and anything with mixed light (example: a little bit of daylight + mostly orange tungsten bulbs, tungsten + fluorescents lights, daylight + florescent light, etc).
It’s hard to see with the naked eye, but in photos a badly lit room can lead to odd skin colours. Please be aware that coloured walls, florescent or tungsten lighting is not the most flattering in general (it creates a blue/green tone of light – and no one wants green skin!), so if you have other better options for getting ready they might be worth considering.
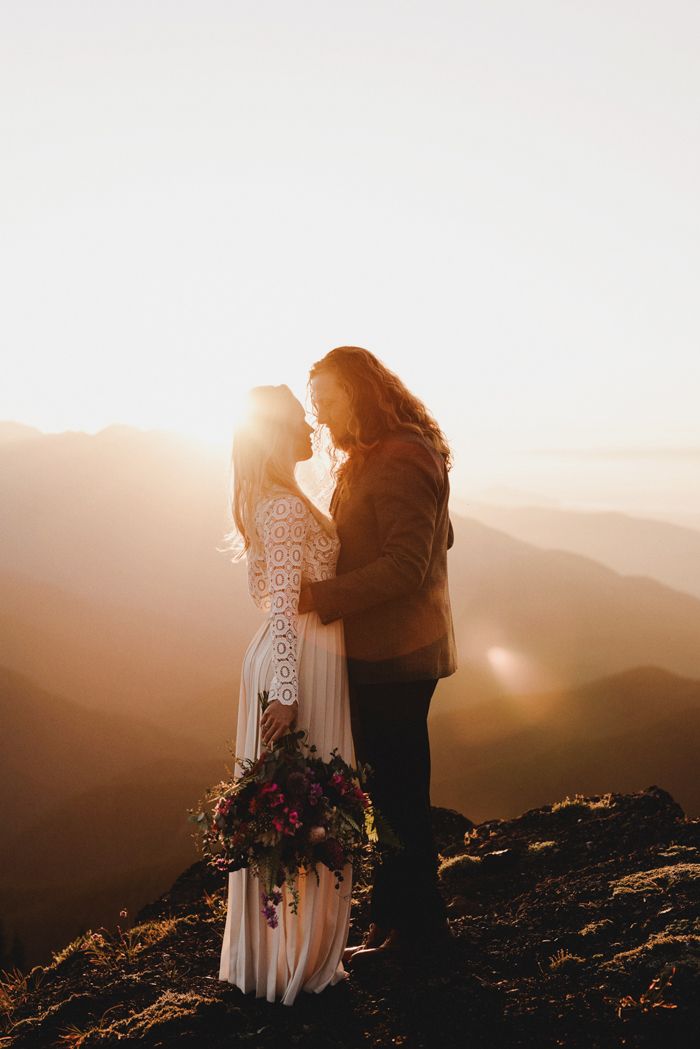
PORTRAITS OF YOU TWO & GROUP PHOTOS:
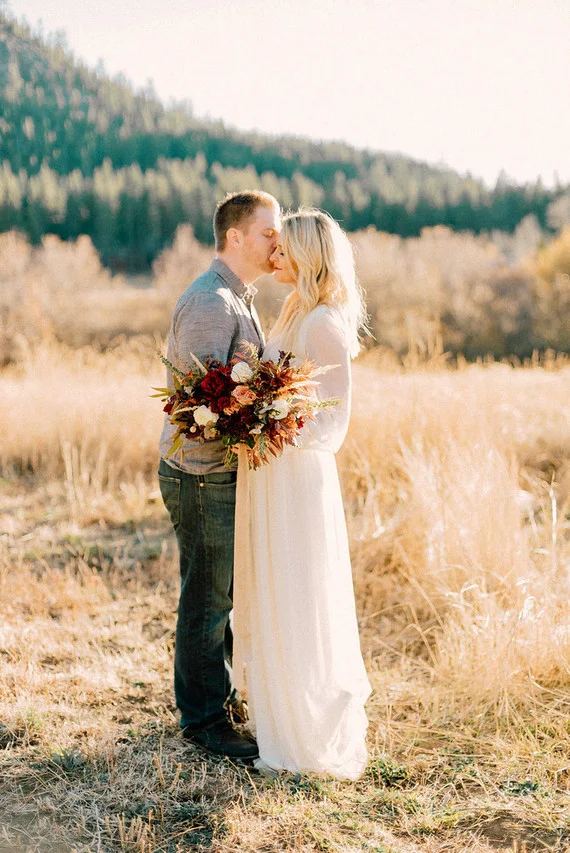
On a clear sunny day, lighting around 10 a.m. – 5 p.m. has pretty harsh sunlight (which will lead to shadows under eyes, nose-shadow moustaches and squinting eyes), therefore in this situation you would want to look for an interesting backdrop that can be used to shade yourselves and family/friends in group photos, or plan to do these photos at a later time of day. The perfect time for these photos would be at sundown, aka Golden Hour, my favourite light to shoot in and in my opinion the most flattering beautiful light there is available to man :) I would suggest you consider taking 20-30 minutes (or less- even 10 minutes if you cannot manage that long) out of your evening plans to go outside and take some beautiful portraits during Golden Hour (the last hour and a half or so before the sun goes down).


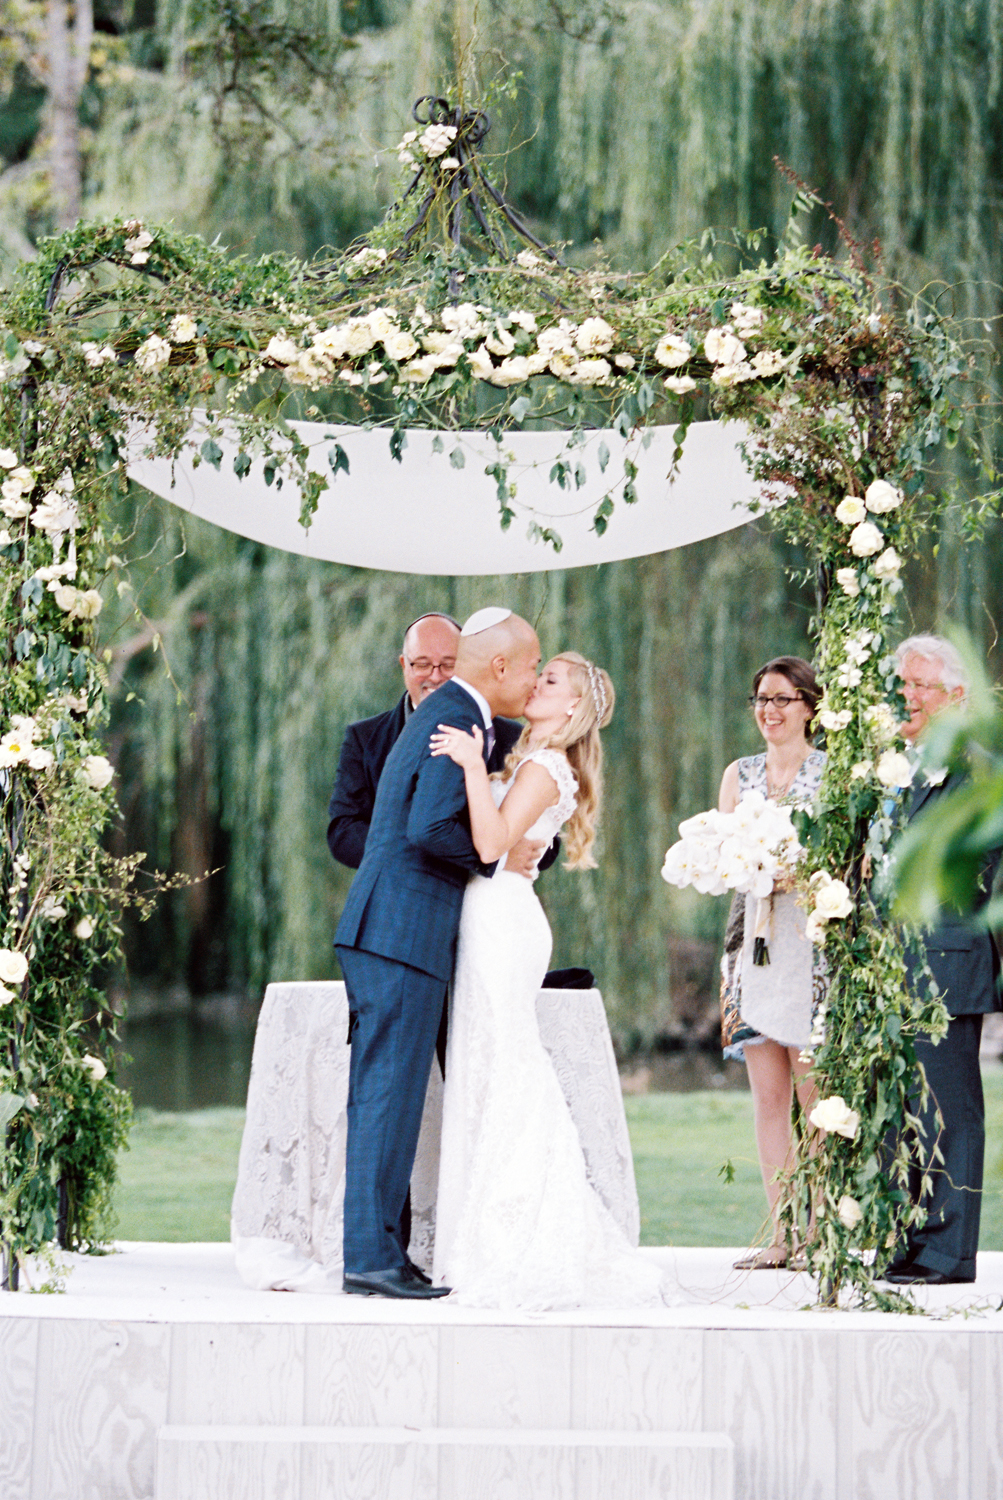
CEREMONY:
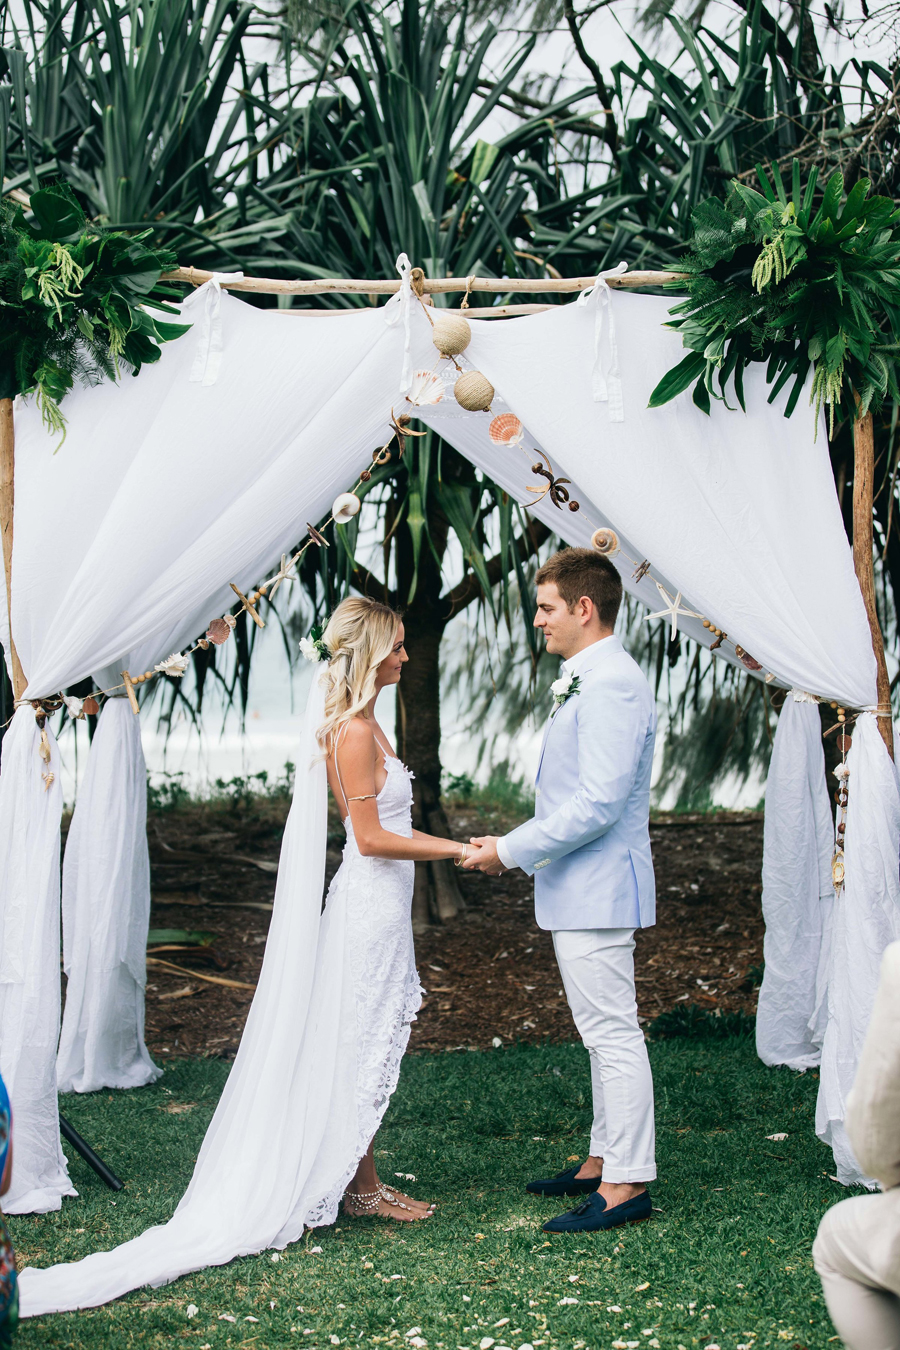
Outdoor ceremonies are my favourite to photograph, but if you’re going to be in direct sunlight (no shade or just spotted/dappled light from a tree), try to avoid the hours between 10 a.m. – 3 p.m. If not possible, consider having some type of canopy (in a neutral, light colour) to stand under to avoid harsh shadows on your face. This will also avoid you getting too hot. It also makes for more interesting landscape photos of the ceremony site if it’s a bit later in the day and the sun is a little lower, but not necessarily at sunset. In summer months, the ideal time would be about 2-3 hours before sunset.
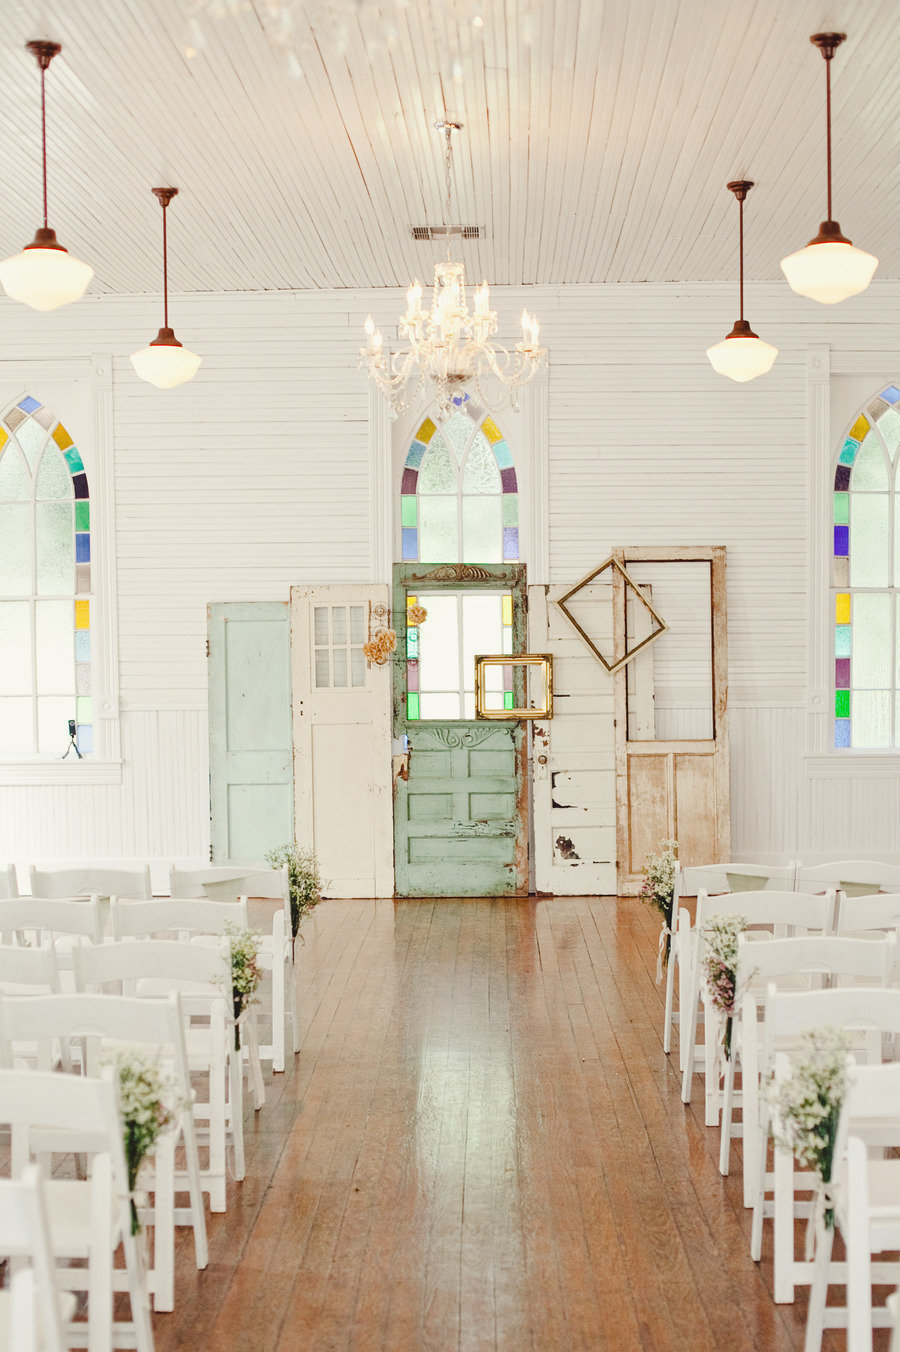
If your having an indoor ceremony for example, in a church, consider light. Some churches are very dark with dark coloured windows, this is often difficult to create flattering lighting on each of your faces. If possible, pick light churches with white walls and lots of window light. Also in any indoor venue, make sure you two are facing the natural light from windows and not have your back to these. I try to avoid using flash at all costs in darker venues as flash really takes away from the atmosphere and warmth of the room.

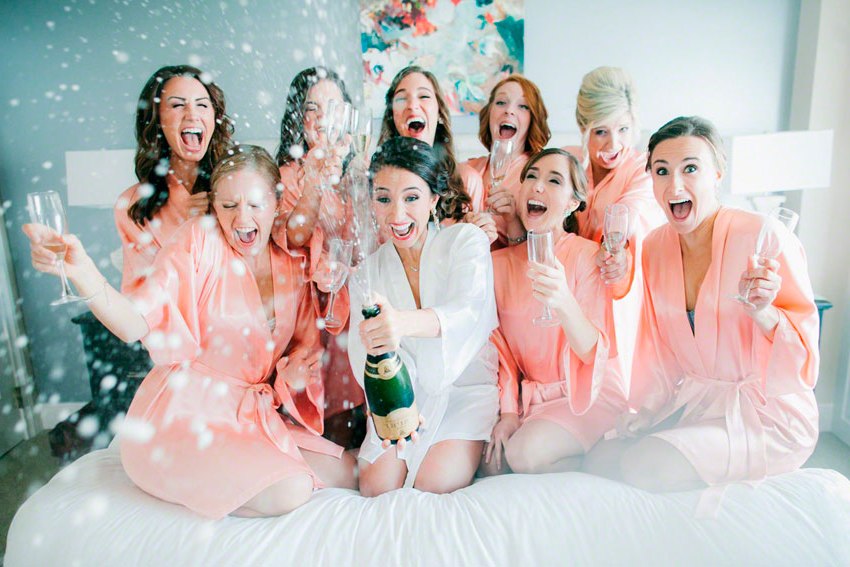
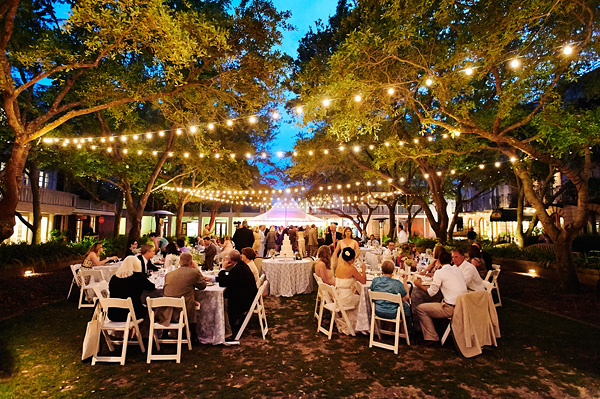
RECEPTION/PARTY:
There are so many variables here and lighting varies from person to person and venue to venue, but my vote is always natural looking, warm light and lots of light. Italian string lights are a beautiful way to add a pretty Bokeh look (the out of focus orbs in the background of photos) to backdrops. They’re ideal for garden areas, to make borders around dance floors and eating areas, and they help to light the perimeter of the reception in a beautiful way, indoor or out.
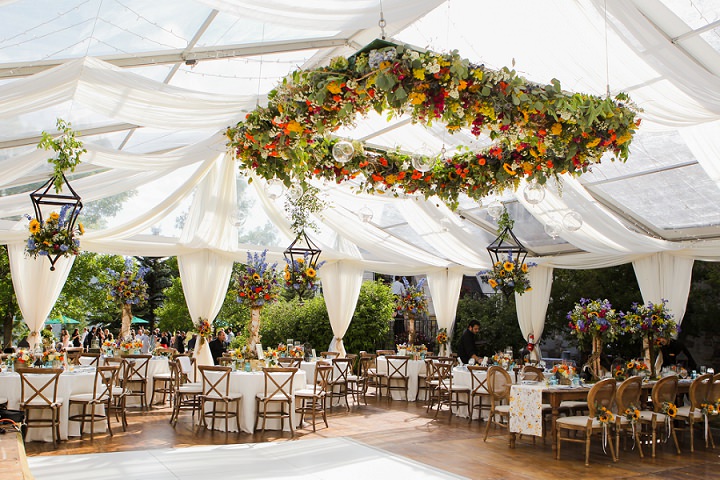
The more lights at your reception, the better! I’ll be able to document the true feeling and atmosphere of your evening celebrations if you help by adding enough light for me to do so. Most photographers (myself included) prefer not to rely on the use of flash too much if at all possible so please consider incorporating other light sources such as candles, hanging chandeliers, string lights and neutral coloured up lighting to help achieve the best outcome for your photos.
If you’re having a ballroom wedding, it’s best to avoid overly warm colours (red, orange, pink, purple). DJ lights can lead to coloured splotches on you and your guests, so use caution when discussing lights with your DJ.
And if you’re having a very small wedding, consider booking a well designed cafe or restaurant that has lots of window lighting and light fixtures that you already love — unlike wedding venues that are a little more of a blank-canvas for you to build on, restaurants and cafes are branded and designed with lighting taken into consideration and might be an easy, more flattering venue if they can accommodate your party size.


Thanks for reading through this! You’re obviously not required to use any of this information, but my end goal is to participate alongside you in order to give you resources to achieve the best wedding photos possible. By applying all, most or some of these tip here we will be on the right path to better images and ultimately you will be happier with the outcome. Here’s to a happy (and well-lit) wedding!